Analysis in detail
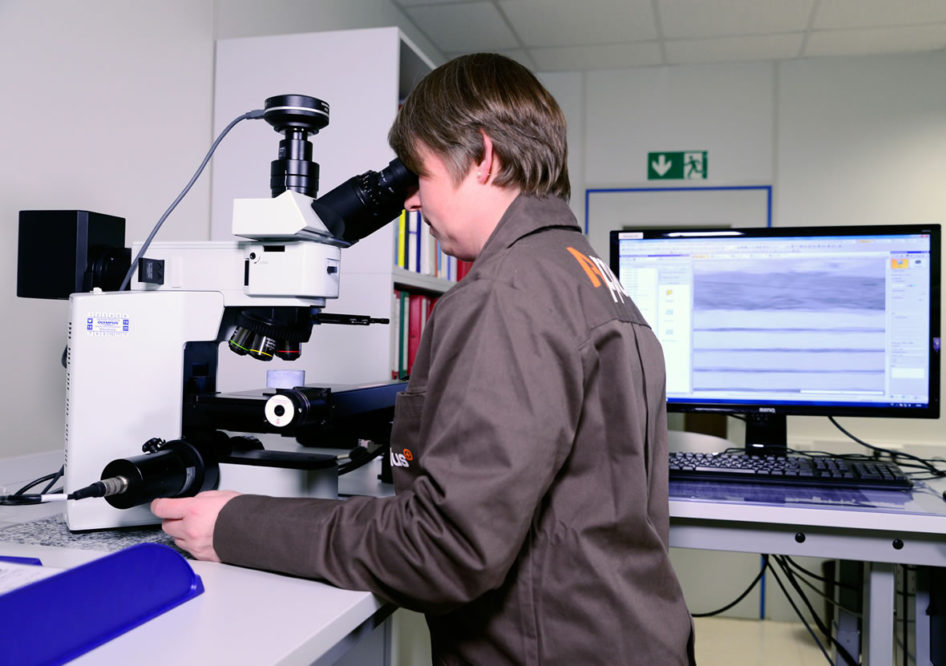
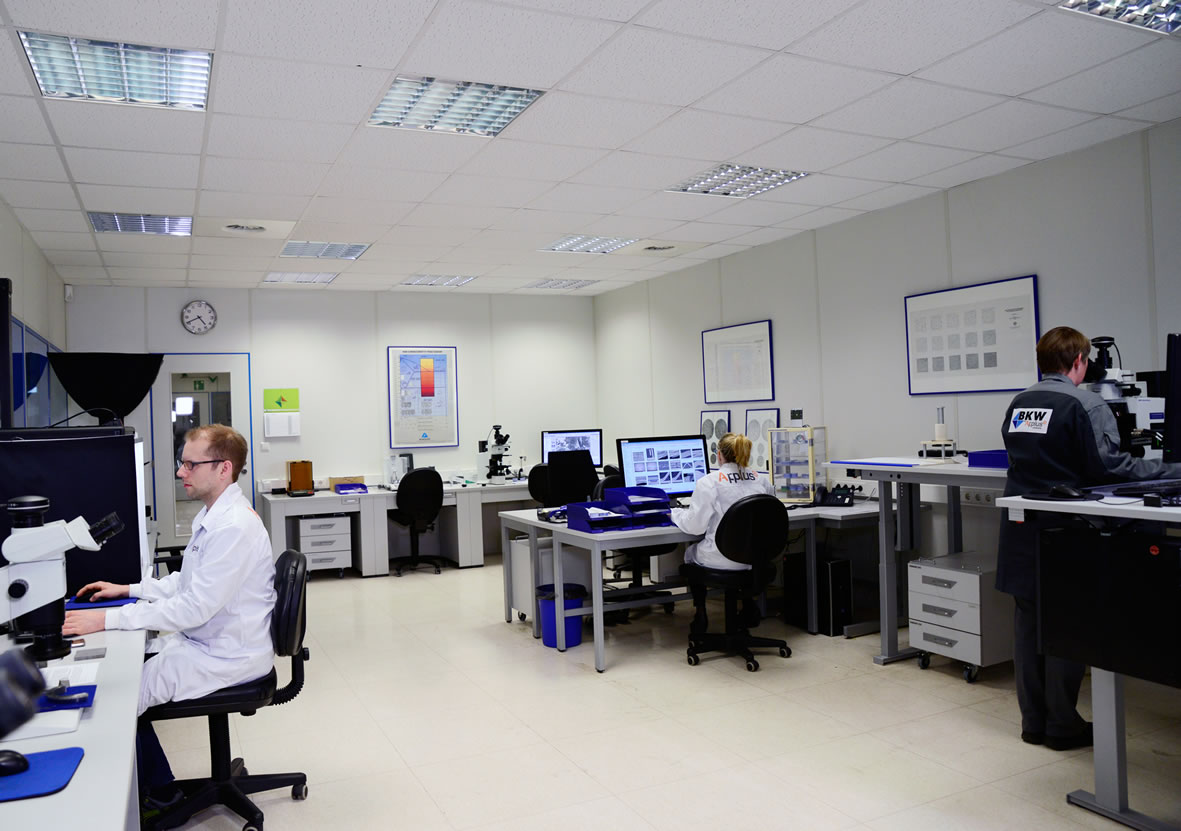
In metallography materials are tested with respect to their structural properties. One of the best image analysis methods supports our metallographers in the daily analysis of very different materials.
In addition to the actual metallography we also do plastography, which deals with non-metallic materials. Here we test primarily composite materials, such as e.g. carbon fiber reinforced plastics (CFRP).
In special cases it is possible by means of ambulant metallography to test components on site or when installed non-destructively. In this connection replicas are taken which are then microscopically evaluated in the laboratory. This method is used for example in the inspection of creep rupture damages within the scope of plant reviews.
Thus we also offer a comprehensive solution for our clients in the area of metallography, plastography and mobile analysis:
- The latest image analysis system with automatic microscope table control from Olympus, including archiving
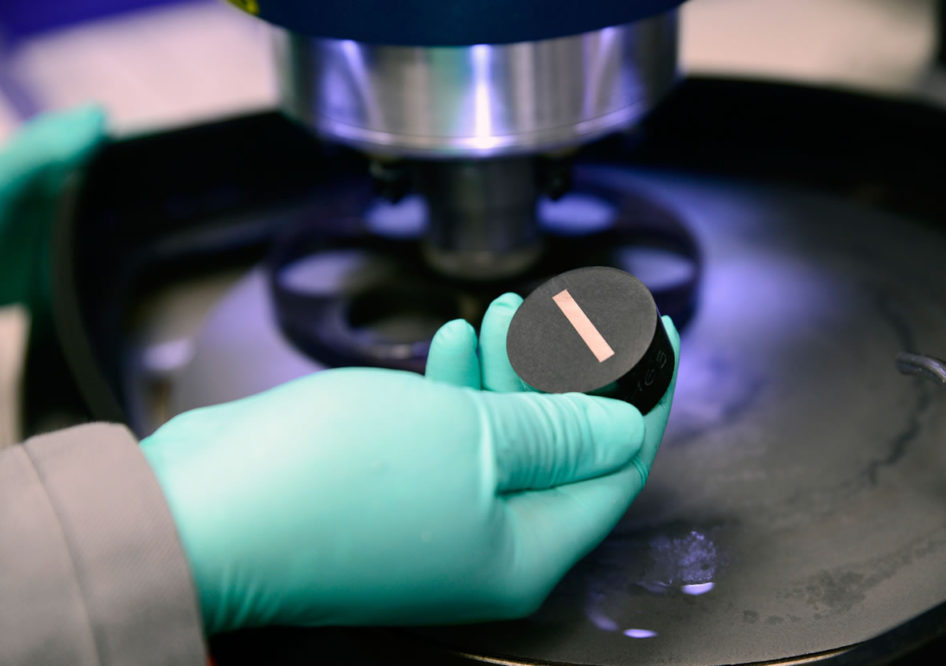
- Cold and warm embedding machines
- Specimen preparation – manual and on semi-automatic and fully automatic machines
- Preparation of macro sections and micro sections
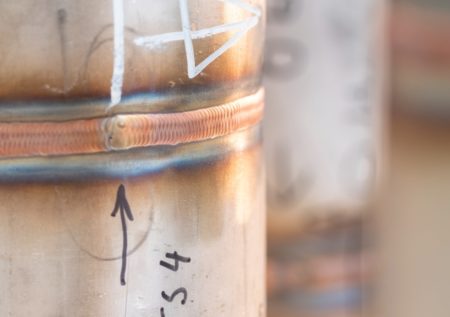
- Weld seam analysis in accordance with DIN EN ISO 5817, DIN EN ISO 10042, determination of design throat thickness in accordance with DIN 15614-7
- Determination of ferrite per ASTM E562
- Determination of particle size in accordance with ISO 643 und ASTM E112
- Classification of gray cast iron in accordance with ISO 945-1
- Titanium (α+ß, α-case)
- Rough grain analysis
- Layer thickness measurement
- Quantitative determination of structural constituents und phase contents
- Pore analysis in CFRP, e.g. AITM 4-0003 and VDG P201 in NE metals
- Density determination Sintered materials
- Small load and microhardness test
- Determining the hardness depth (CHD) in accordance with ISO 2639
- Baumannn print or sulfur print for detecting sulfur and its distribution in steel
- Ambulant metallography, replicas by means of Replica technology
- Damage analysis


